When should I change my Lynx snowmobile drive belt?
We know that Lynx riders are some of the fiercest on earth and willing to take on any terrain, no matter how daunting. Starting each season with a fresh drive belt gives you that extra piece of mind to enjoy your journey right from the start.
There are other times throughout the season it may be necessary to change your belt as well. You can detect it through a pre-ride inspection of the belt: just look for wear signs on the belt with a quick inspection for any cracking, tearing, flat spots or other signs of wear. If you see any of these, it’s time to change it. Another sign that you’re due for a belt change is a decrease in performance or inconsistent acceleration when you ride. If you experience any of these symptoms, it could be time to replace your drive belt.
Here’s how it’s done.
How to change the drivebelt on a Lynx snowmobile
Tools Required:
- Pulley expander
- Suspension adjustment wrench (Both tools come with your Lynx snowmobile.)
1- Park your snowmobile and remove the tether cord.
2- Remove the left side panel to expose the drive pulley sheaves and drivebelt. You’ll also find the tools you’ll need in the tool storage location.
NOTE: For most recent Lynx trail, crossover and older snowmobiles, there is also a belt guard to remove. Do it by retaining the pin towards the rear of belt guard and carefully pulling the guard away from the sled. Set it aside and keep track of the retaining pin.
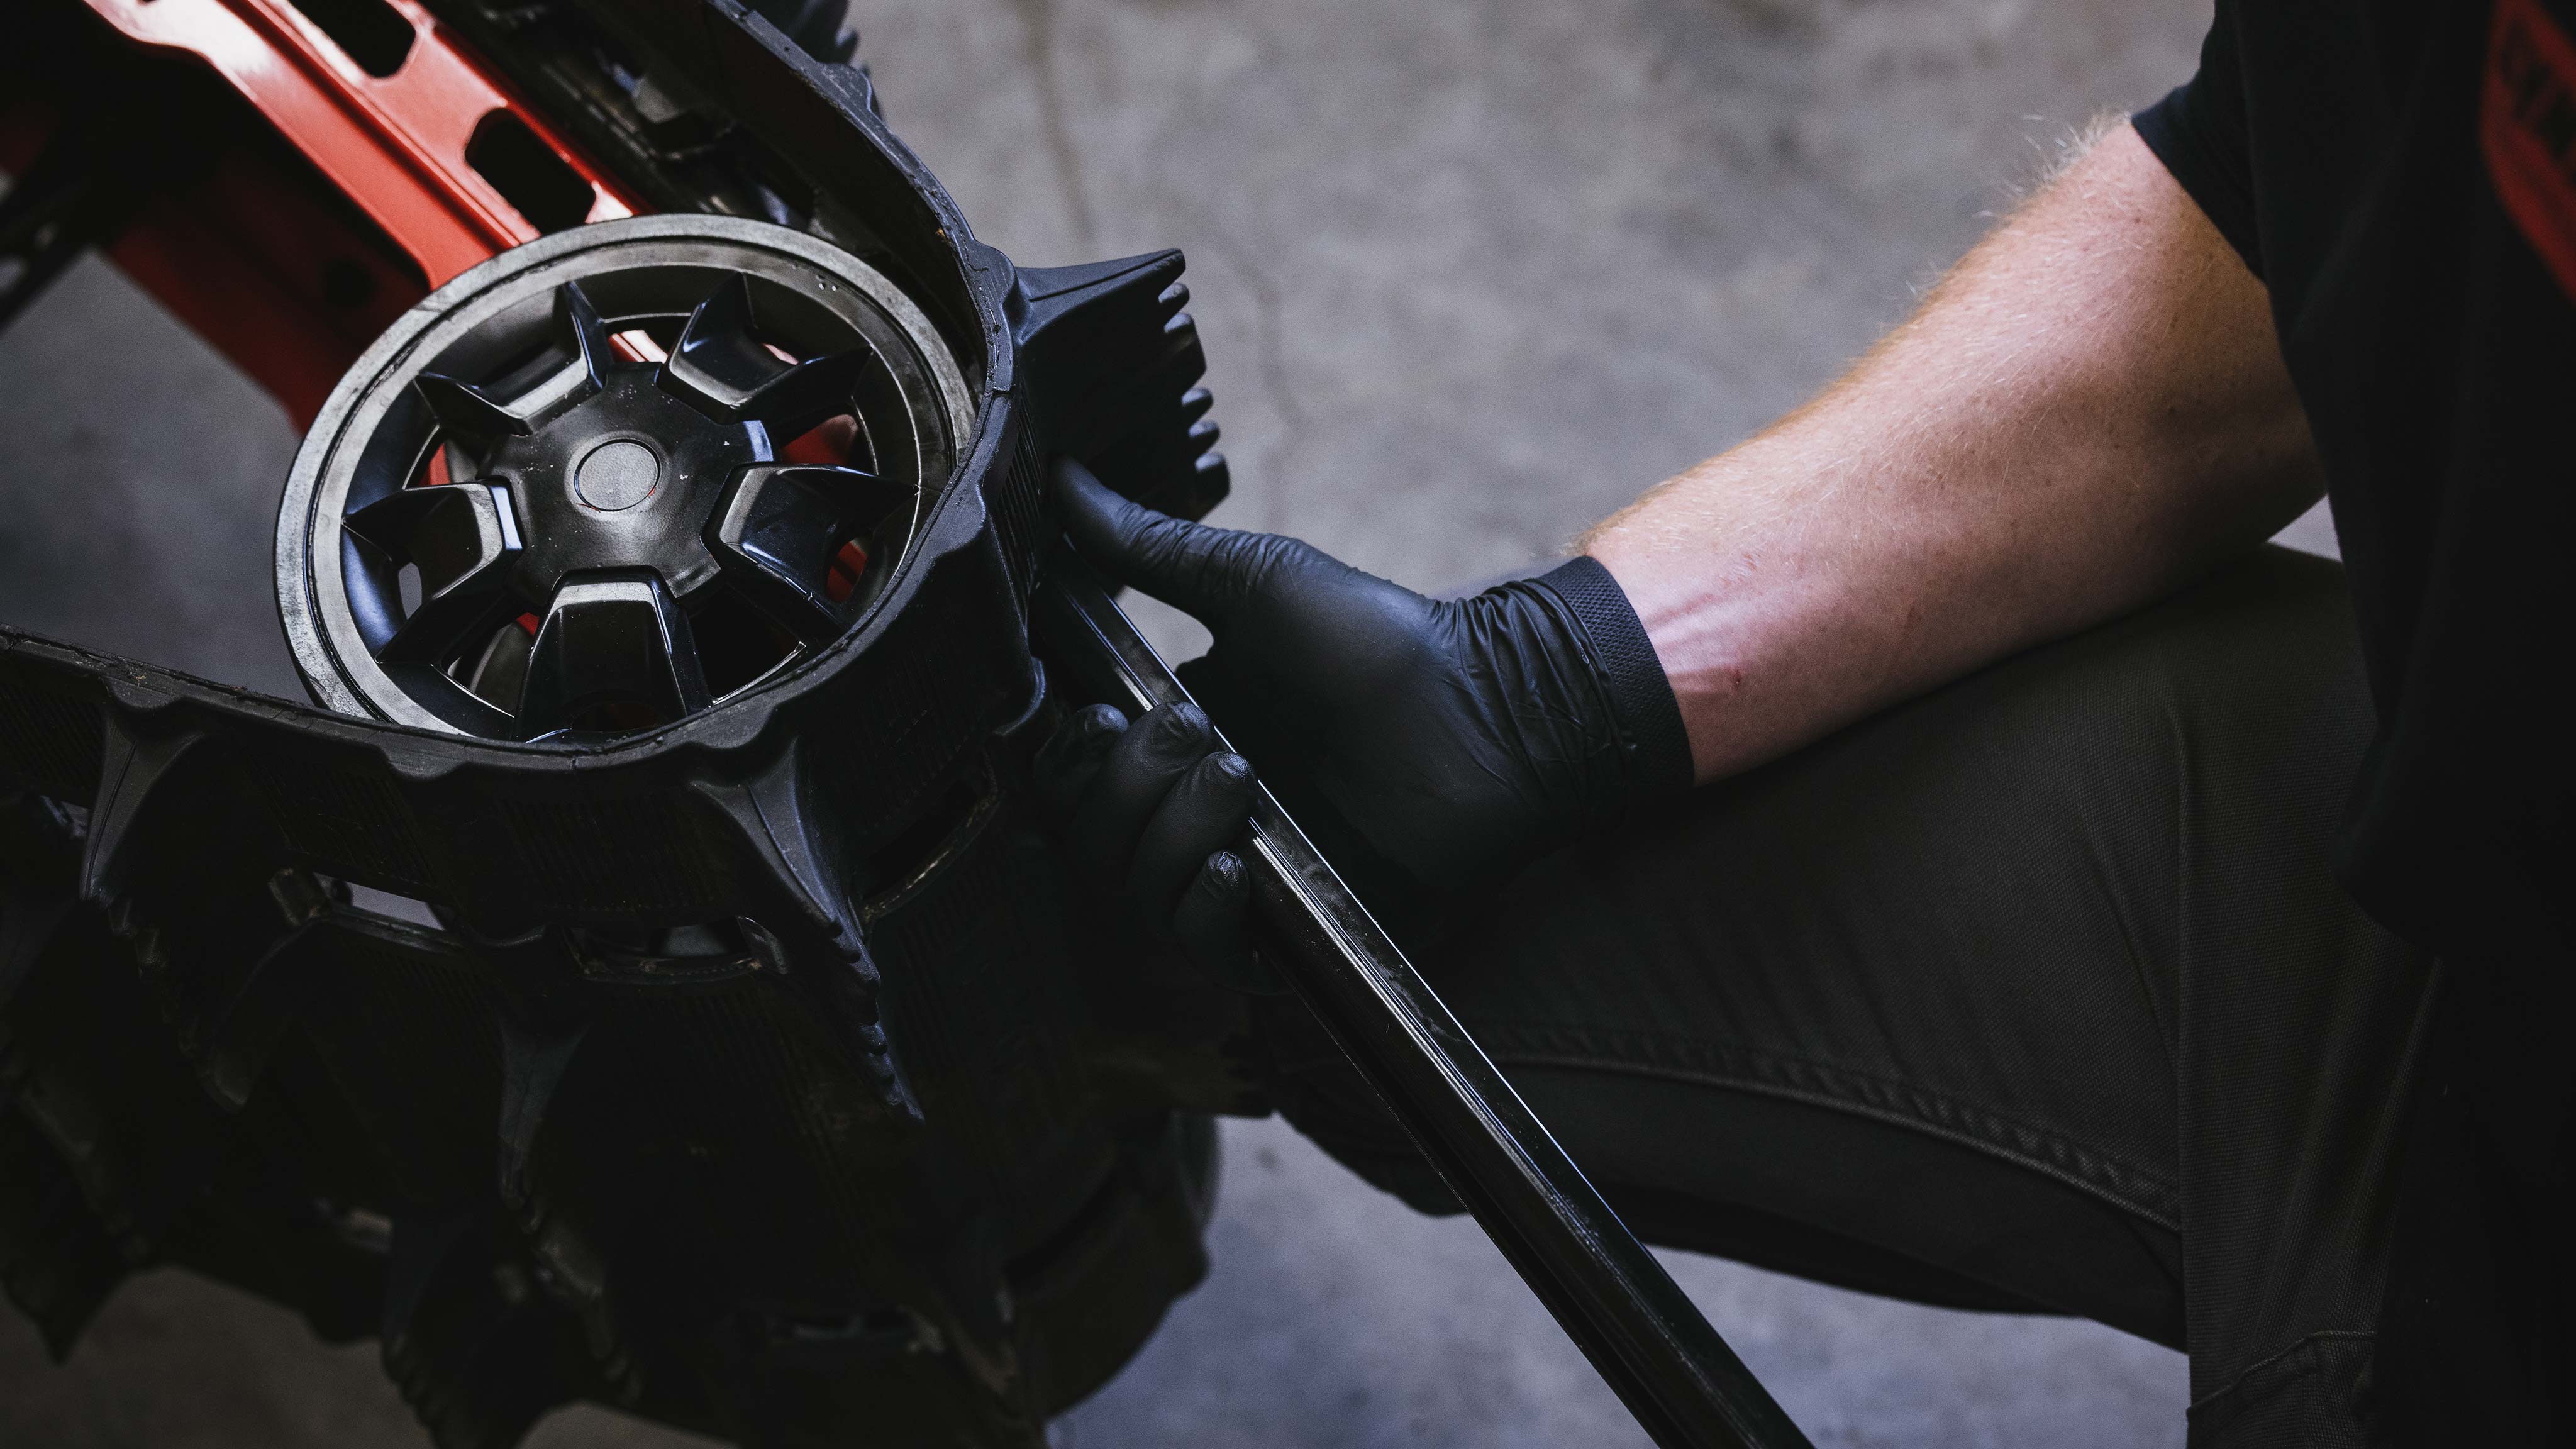
3- Insert the pulley expander into the threaded hole on the adjuster hub of your driven pulley. Screw the pulley expander in to expand the sheaves and remove the old drive belt by slipping it over the top and then slip it around the drive pulley below.
4- Install the new belt by slipping it around the lower drive pulley first, then work it over the driven pulley. The arrows on the drive belt indicate the proper belt orientation. They should be pointing forward towards the front of the sled when they’re at the top of the driven pulley.
5- Unscrew the pulley expander to remove the tool.
6- Rotate the driven pulley several times by hand to properly set the belt height between the sheaves. Consult your Lynx Operator’s Guide for the proper belt height for your specific sled. This varies by model.
7- With the new belt installed, secure the tools into their storage location on the left side panel. Reinstall the belt guard and retainer pin (if necessary) and resecure the left side panel.
How to adjust your Lynx drive belt
If you need to adjust the height of your new drive belt between the pulley sheaves, follow these steps using the same tools as the process above.
1- With your sled parked and tether removed, open the left side panel (remove the belt guard if necessary) to expose the pulleys.
2- Loosen the clamping bolt on the adjuster hub with the Phillips end of the pulley expander. You don’t need to completely remove it.
3- With your suspension wrench, turn the adjuster hub a quarter-turn at a time and rotate the driven pulley by hand. Turning the adjuster hub counterclockwise lowers the drive belt, and doing it clockwise raises it. Repeat this process until your drive belt is properly set.
4- Once you’ve found the right belt position, tighten the clamping bolt. If possible, use a torque wrench and torque the clamping bolt to 5.5 ± 0.5 Nm (49 ± 4 lbf-in).
5- Place your tools securely back into their storage location in the left side panel. Reinstall the belt guard and retainer pin (if necessary) and resecure your left side panel.
WARNING: Never operate the engine without your belt guard securely installed or with side panels opened or removed.
A fresh drive belt for your Lynx snowmobile means you’re ready for that next great adventure. Make sure you grab a fresh spare belt to take along and enjoy the ride!