Lynx Snowmobile Pre-Ride Checklist
Most of your pre-ride inspection can be done with the engine off.
1- Be sure to park your Lynx snowmobile and remove the tether cord before you begin.
2- Remove any ice, snow and slush from the running boards, lights, seat, controls and dash area. You’ll need to do this when you’ve recently been riding, or if your snowmobile has been parked outside.
3- Inspect your snowmobile track for any broken lugs or rips. If you see any, it’s time to consider replacing them. Check that your hyfax is not worn past the wear indicator strip on the side. If they are, replace them before you head back out.
4- Turn the handlebars in both directions to make sure the steering is free from obstruction and the skis turn along with the handlebars.
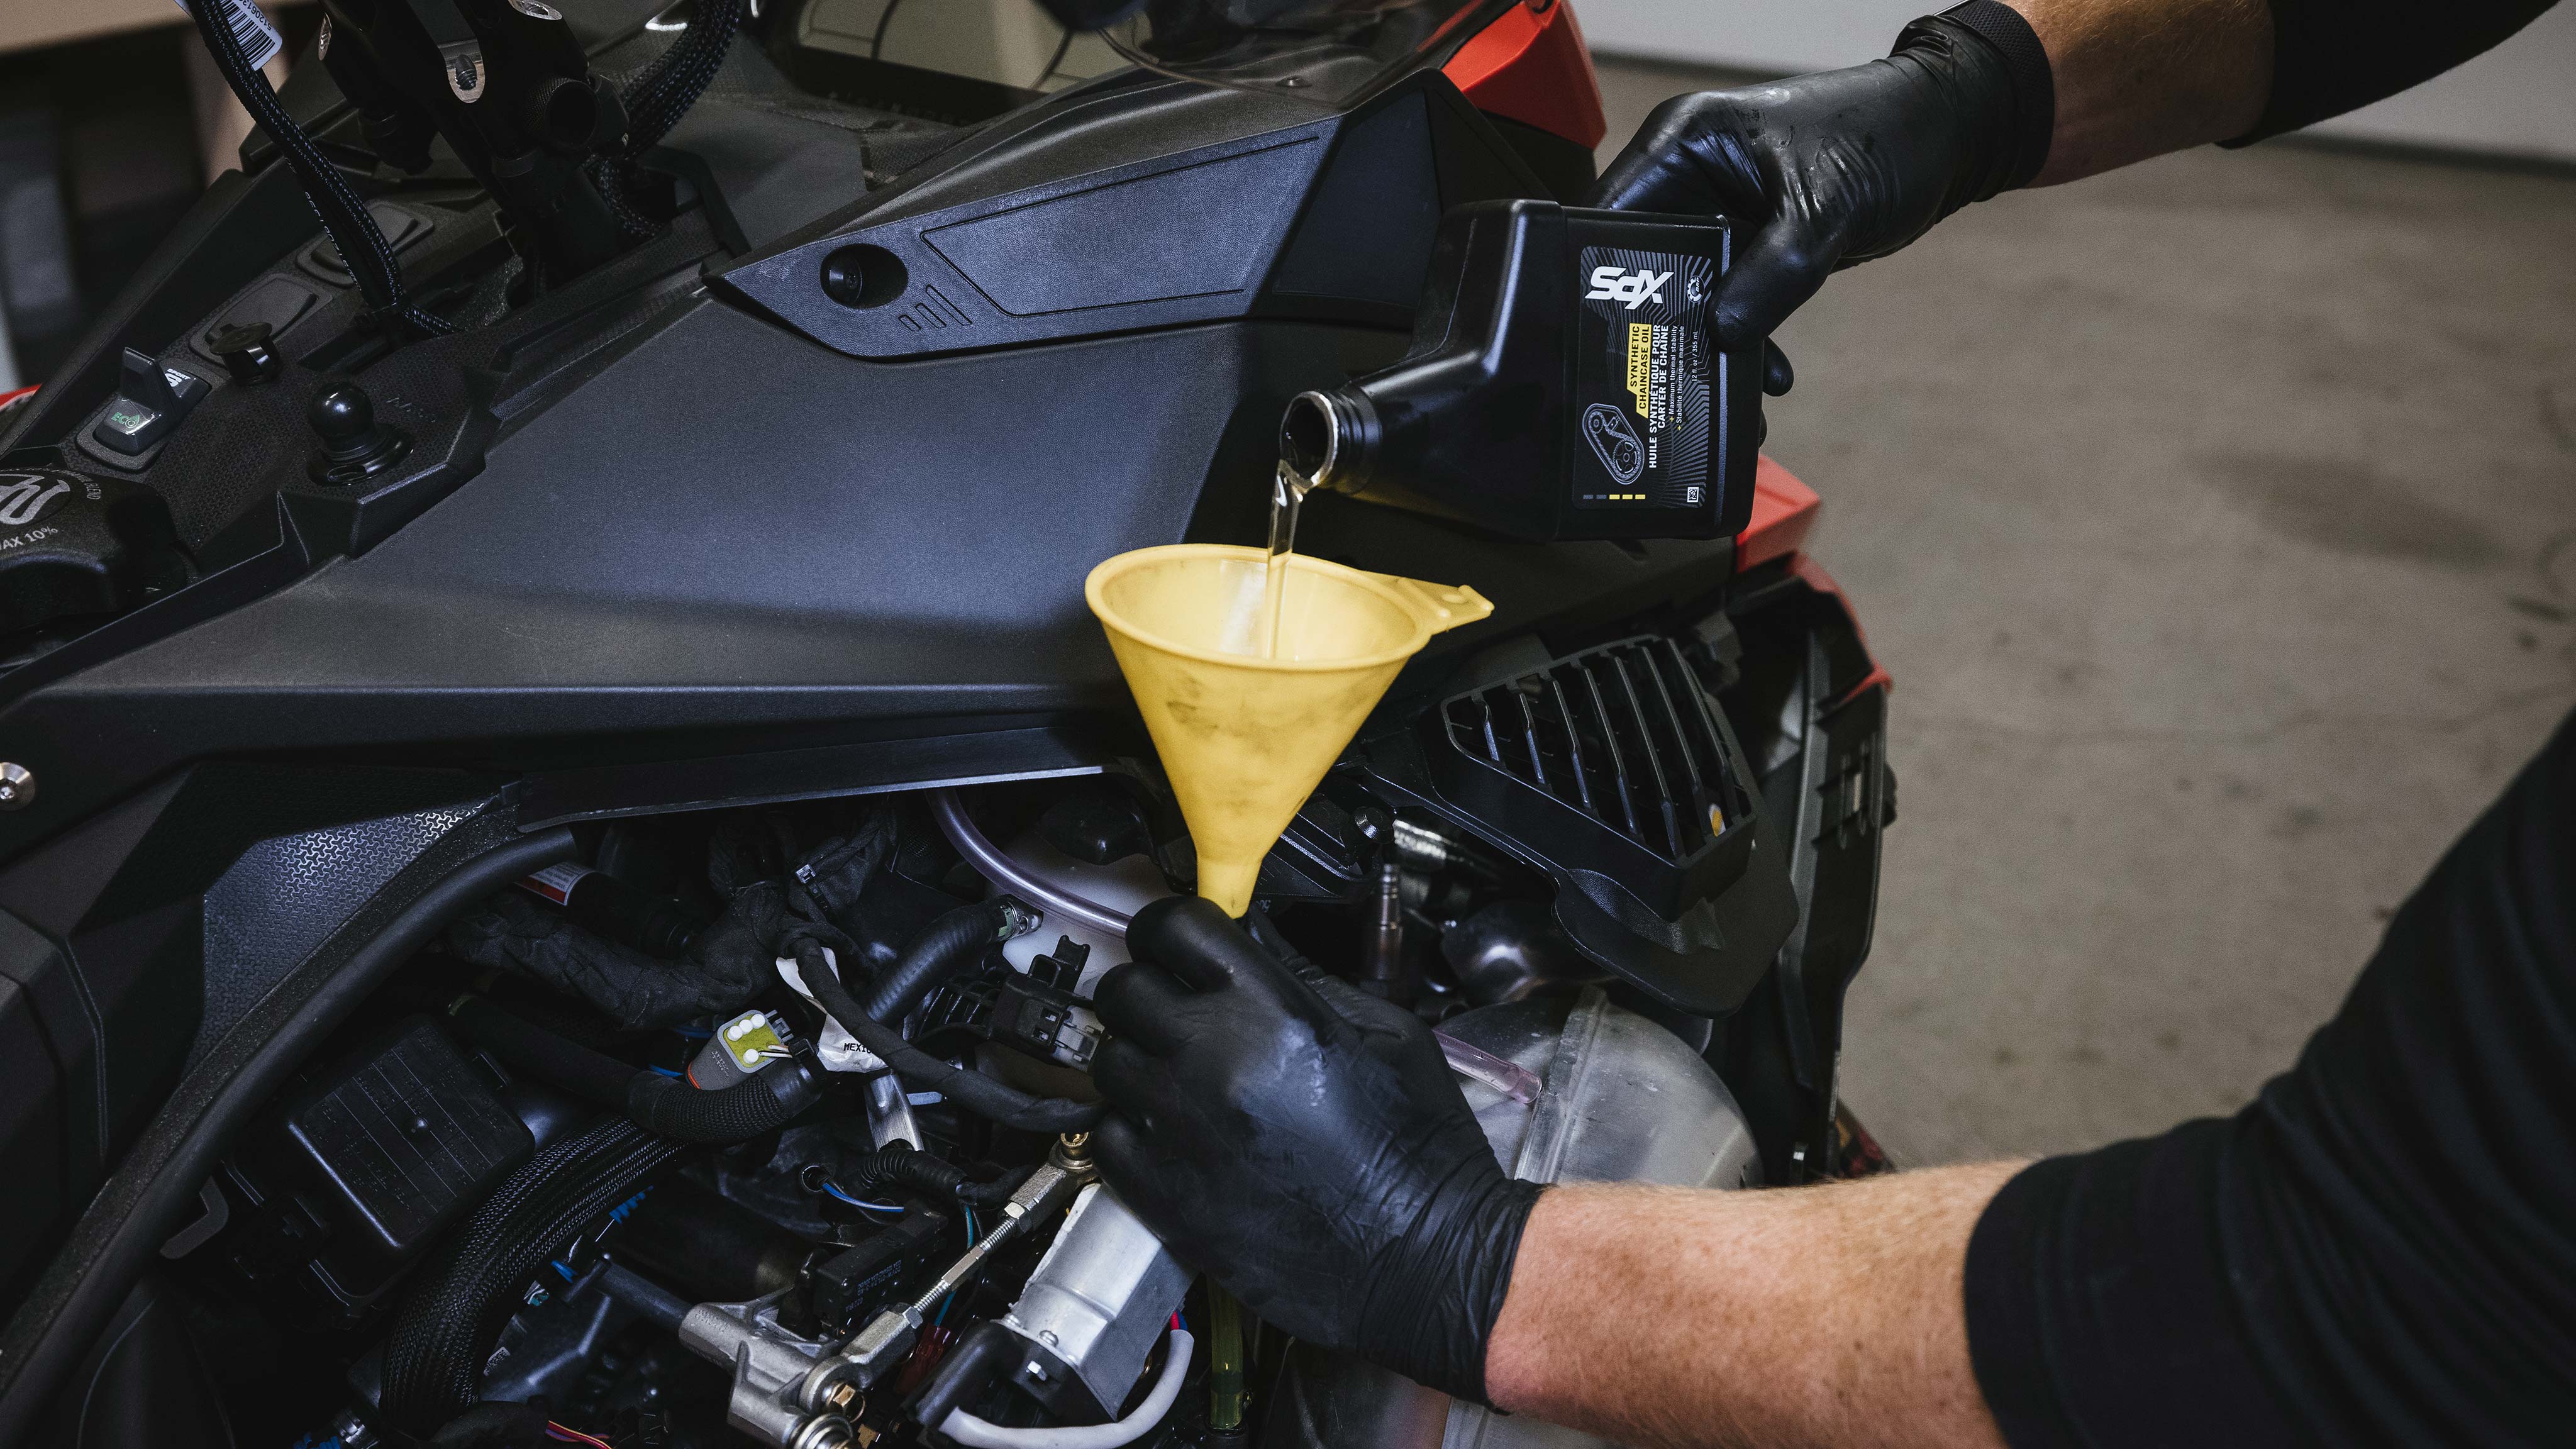
5- Check oil, fuel and coolant levels and top off if necessary. This is also a good time to check the floor or snow underneath the sled for any leaks. If you see one, repair it before your next ride.
6- Secure storage compartments, hood, and any accessories properly.
7- Squeeze the throttle and brake levers several times to ensure both move freely without obstruction.
8- Set and release the parking brake to ensure it works properly. Check your brake reservoir near the brake lever and make sure you have enough brake fluid. If not, top it off following the process in your Lynx Operator’s Guide.
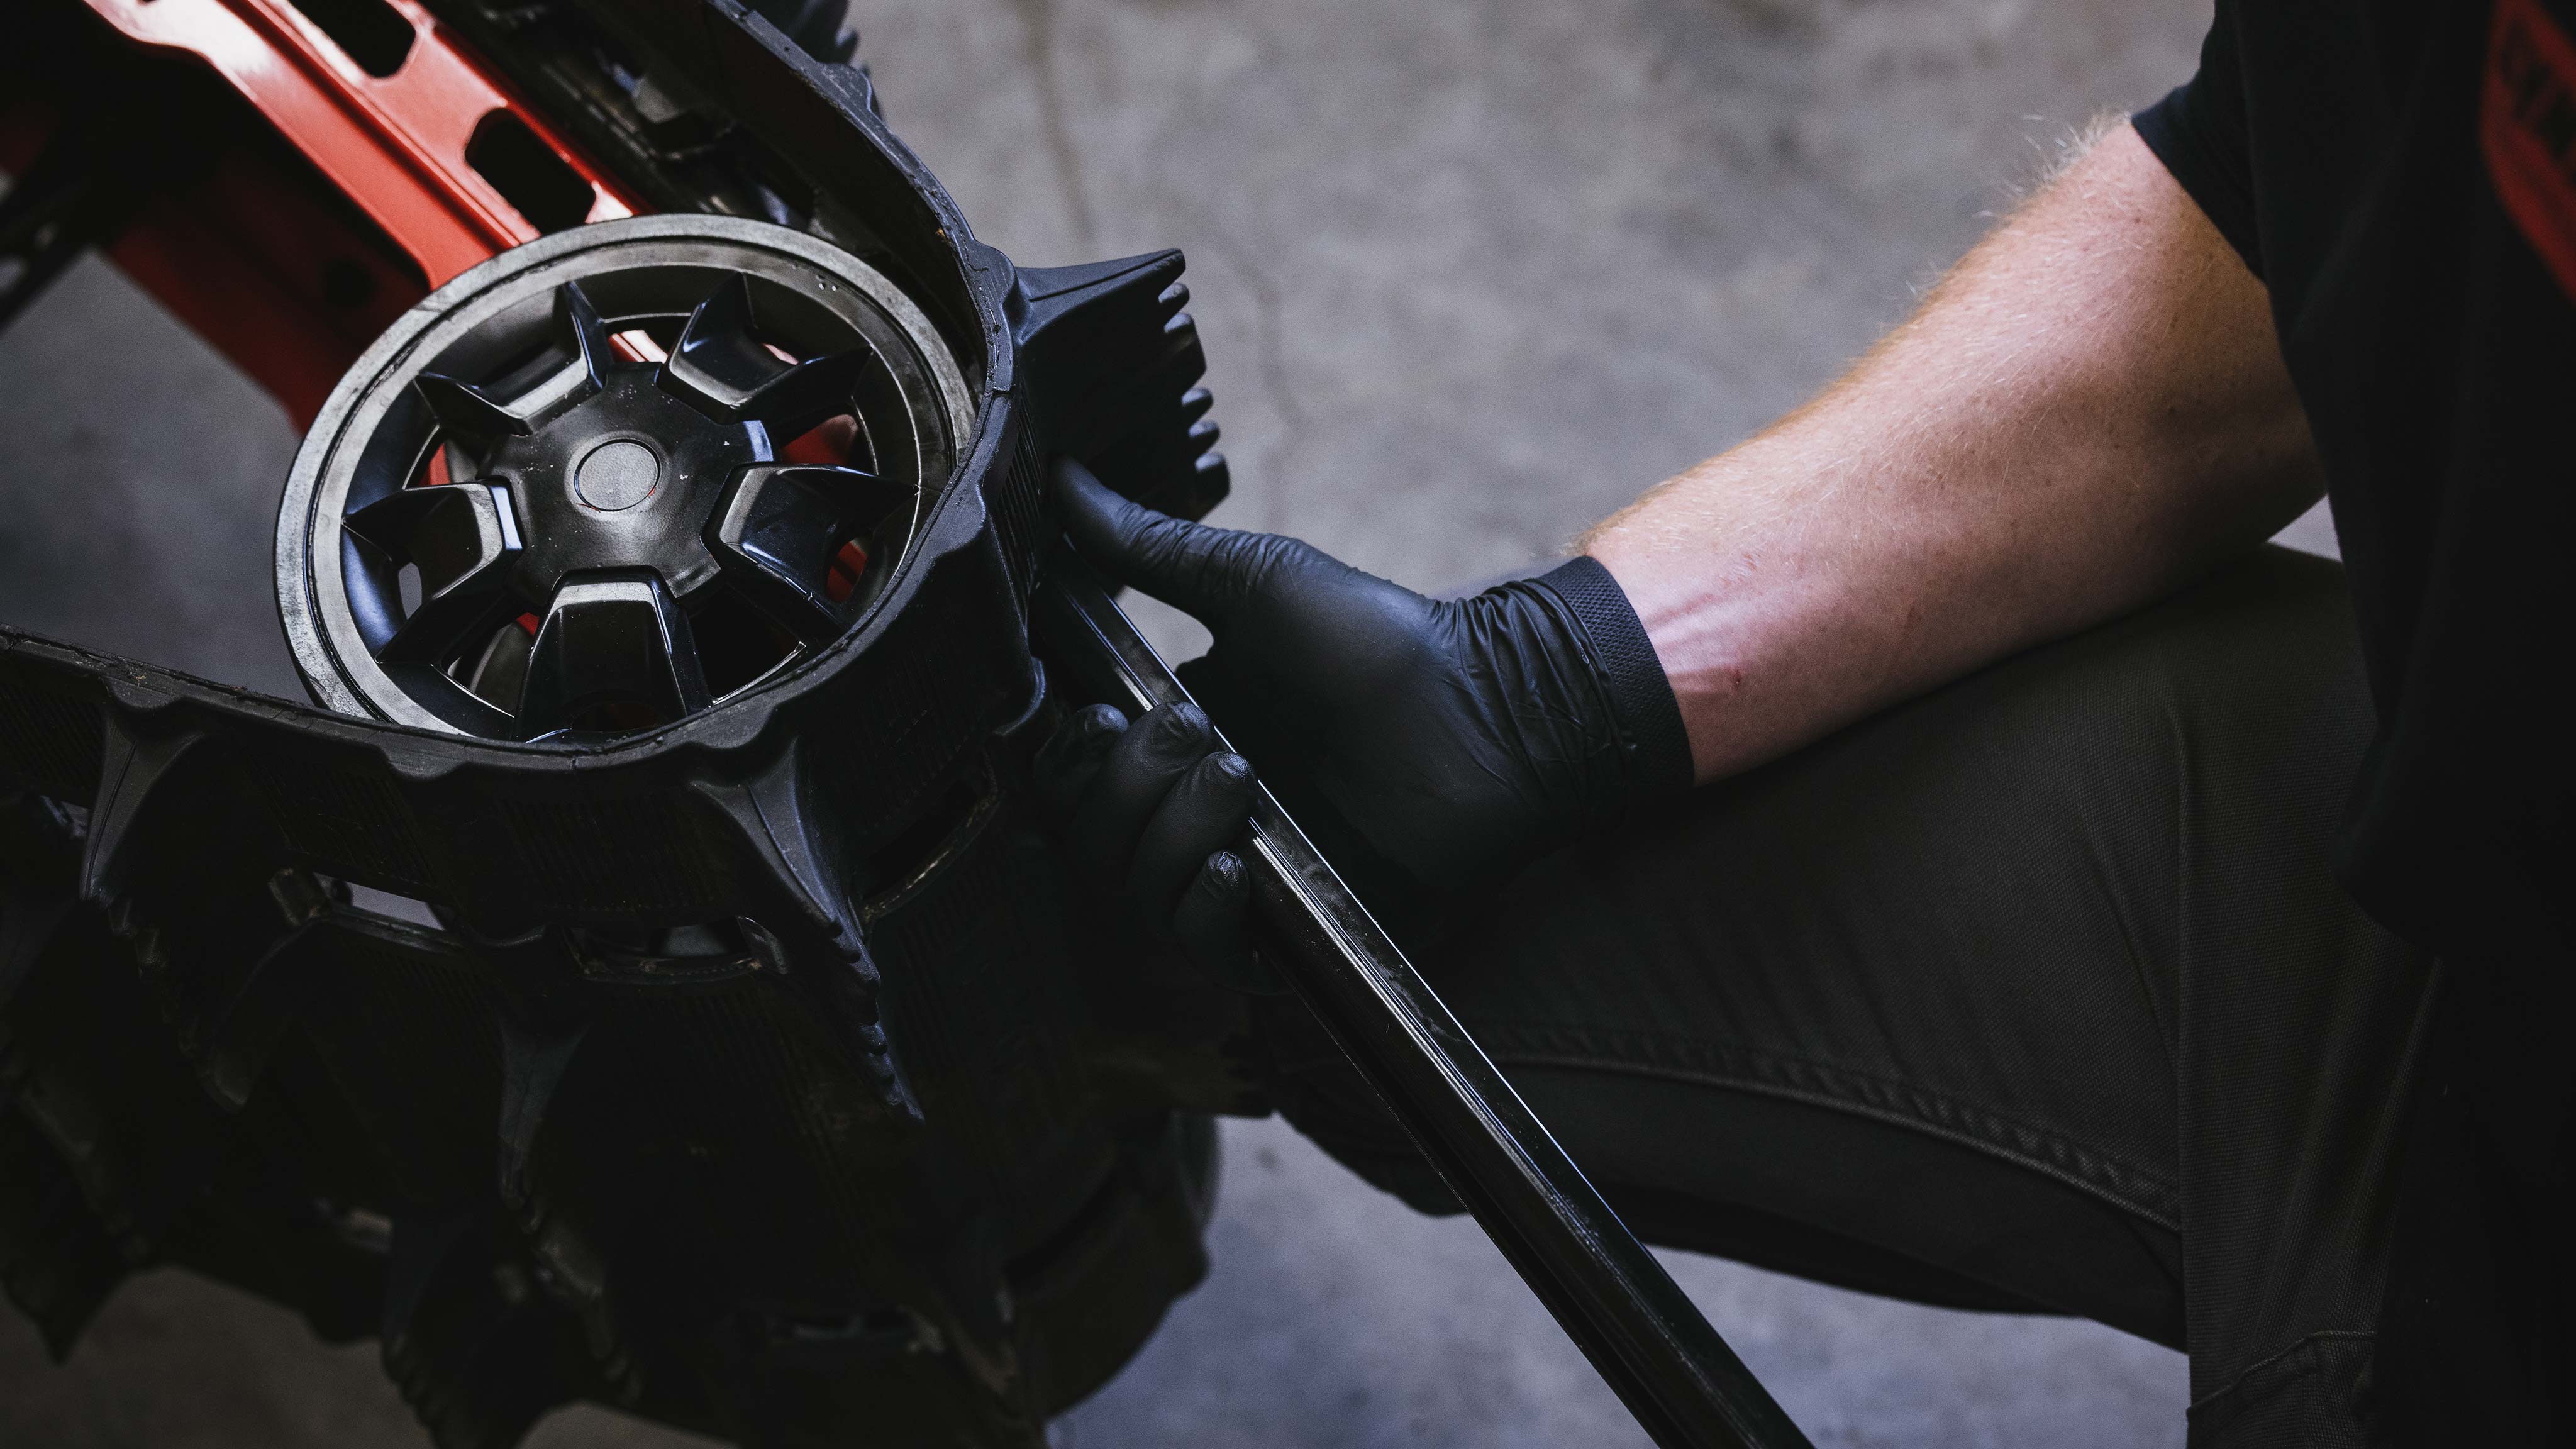
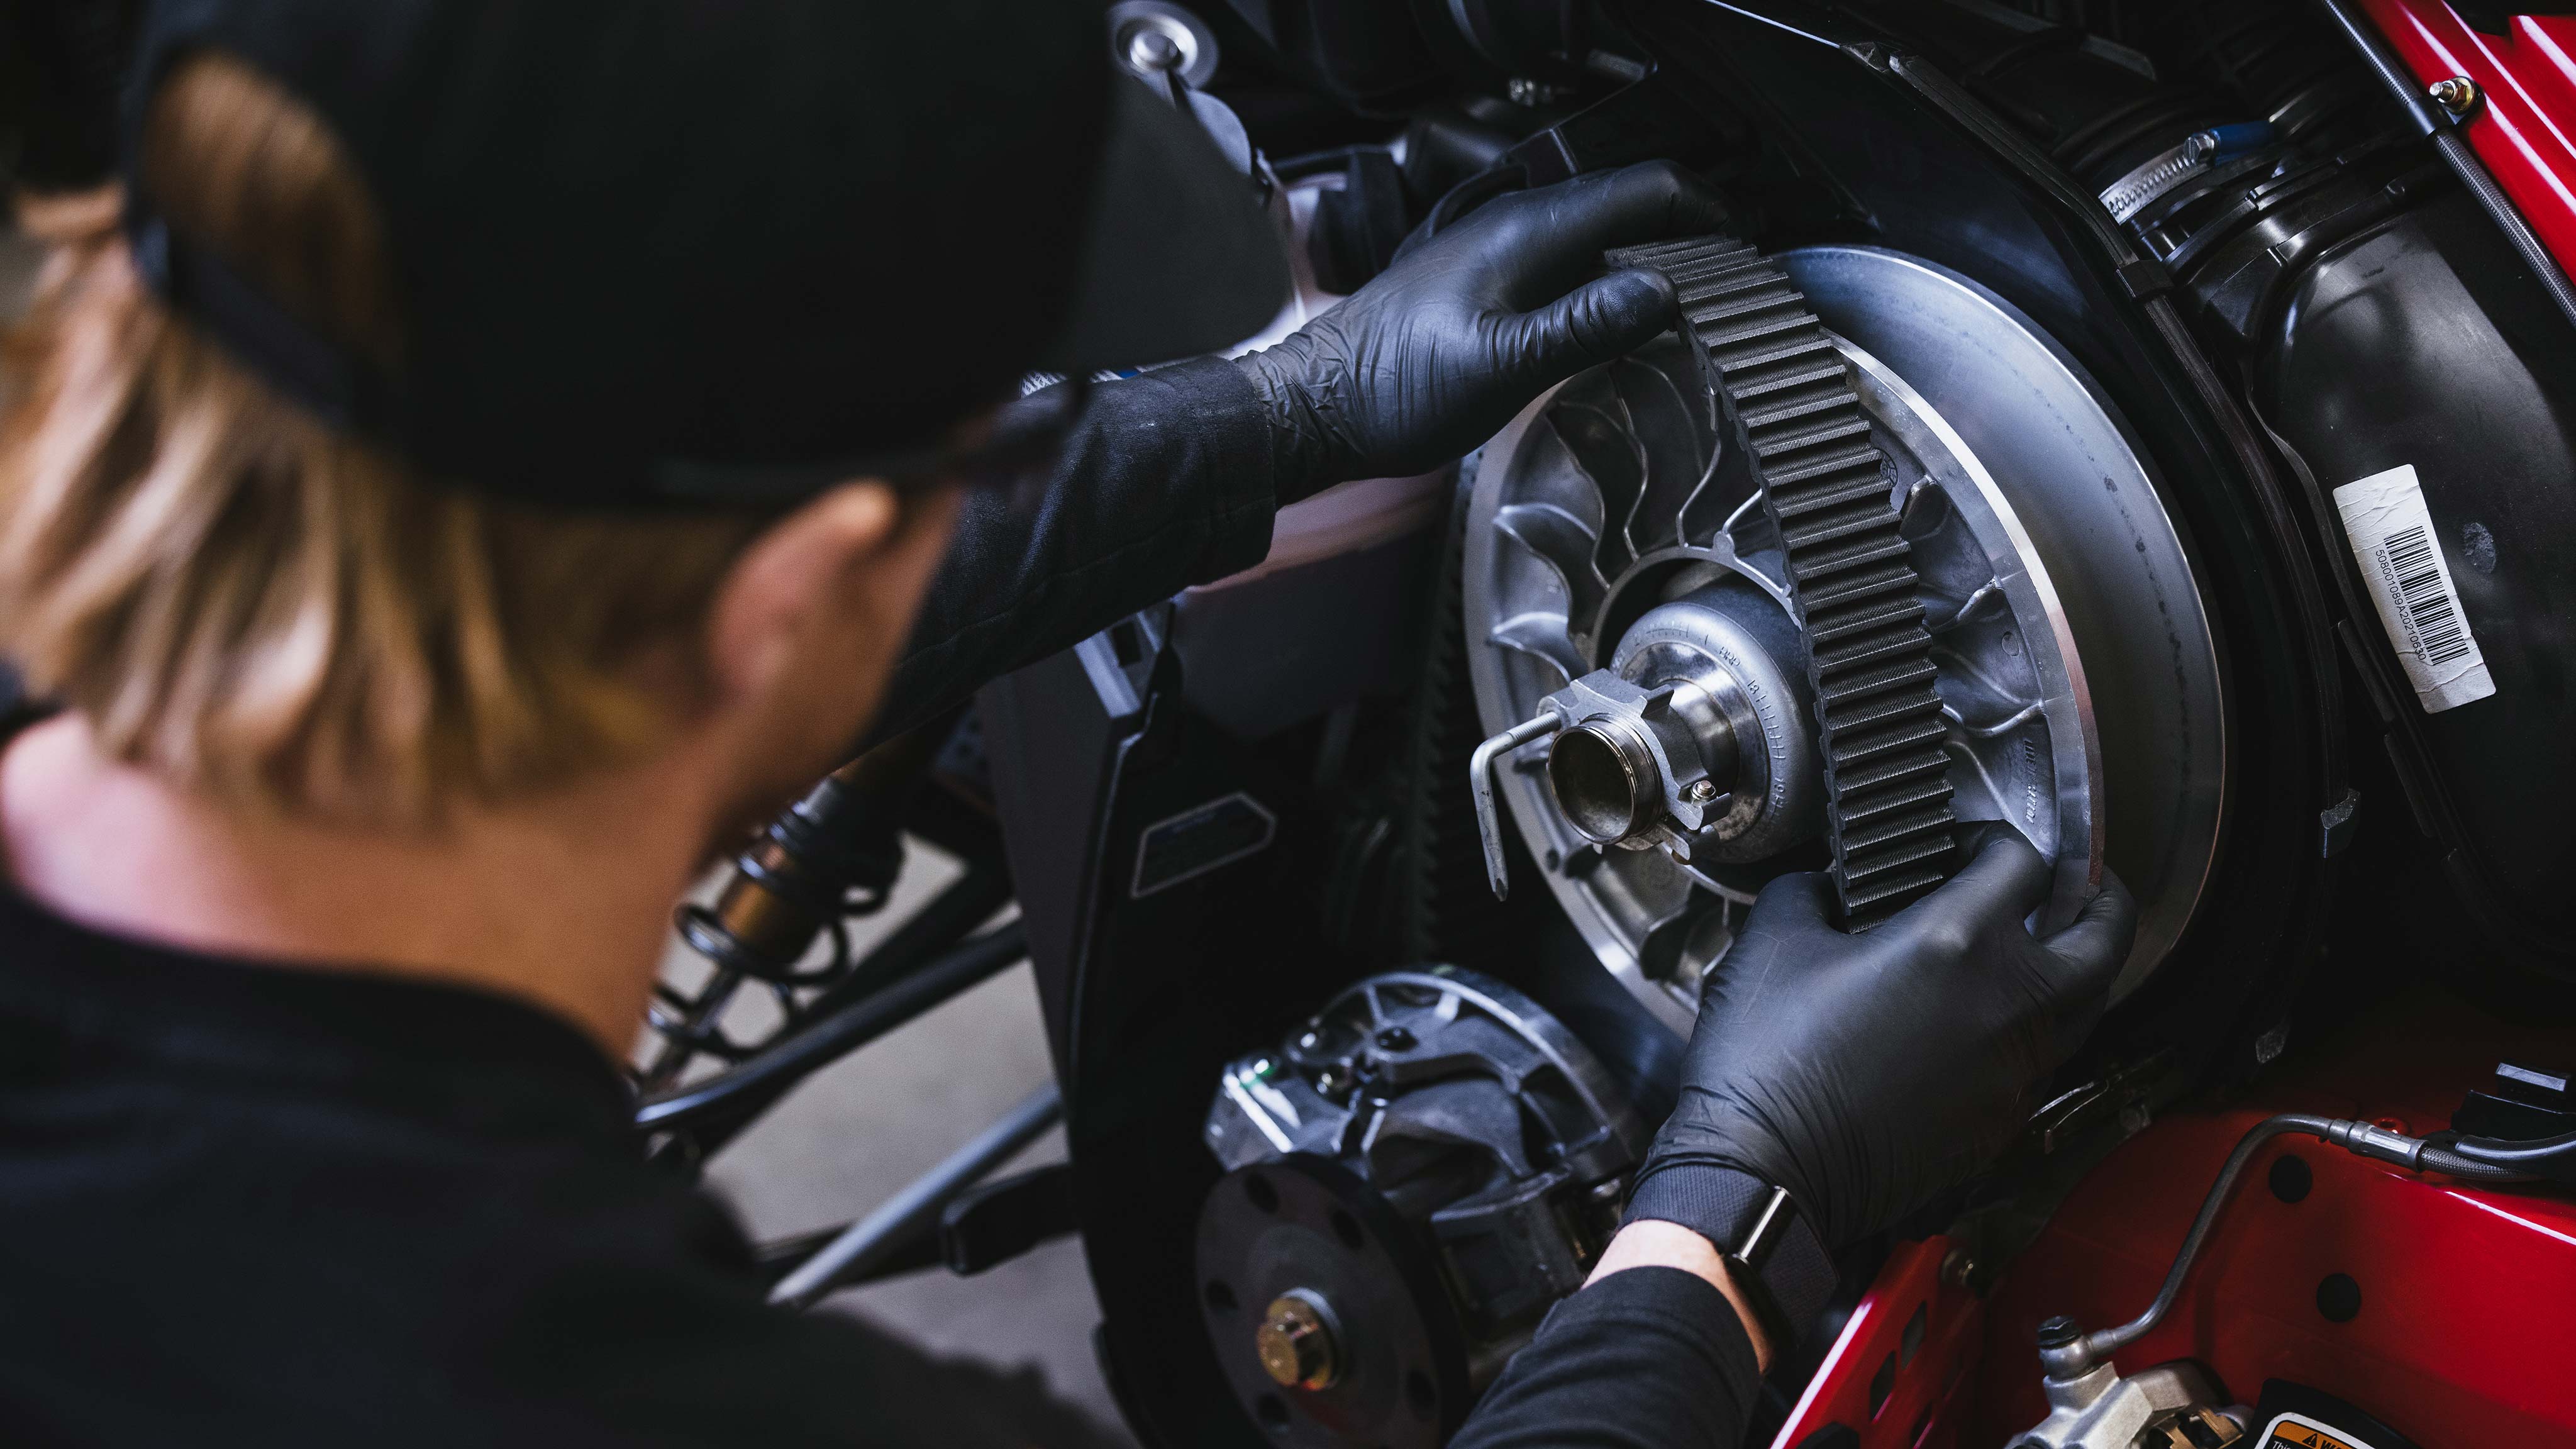
9- Remove the left side panel and inspect your snowmobile drive belt. If you notice signs of wear like cracks, flat spots or peeling, it’s time to change it. Make sure the belt sits at the proper height between the clutch sheaves. This can vary by model, the correct belt height for your model is listed in your Lynx Operator’s Guide. Adjust the belt height if needed according to the instructions in your Lynx Operator’s Guide.
10- Put on your helmet and set the parking brake. Attach the tether cord to your jacket. Start your sled and check that your headlights are working on both low- and high-beams. Have a friend check your taillight and make sure the brake light illuminates when you squeeze the brake.
Warning: To prevent serious injury or death from carbon monoxide, never run the vehicle in poorly ventilated or partially enclosed areas.
11- Finally, make sure the sled shuts down properly. Stop the engine with the red engine stop switch, then check that the engine also shuts down when you remove the tether cord.
If everything checks out, you’ve completed your Lynx Snowmobile pre-ride inspection and you’re ready to begin your next great winter adventure.

.jpg)